Draw a Rock Mandala With Paint Markers: Affirming Aqua
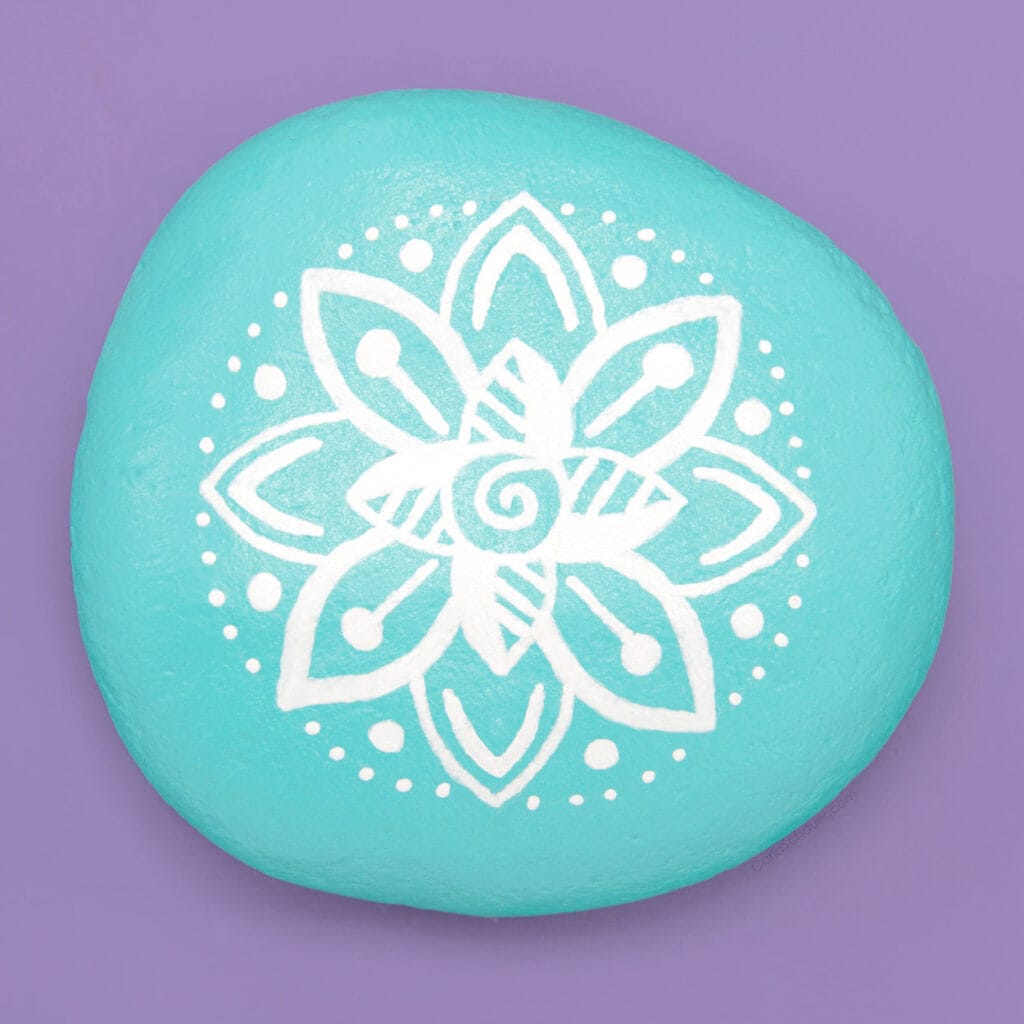
When you draw a rock mandala using paint markers instead of dotting tools or brushes, it can be easier to create some of the traditional mandala patterns, especially for beginners. This streamlined design is perfect for practicing lines.

I like to have a good stash of rocks already prepped and base-coated, so I can jump right into painting my design when I have some craft time available. Having some neutral bases, as well as brights like this aqua stone, gives me lots of options to choose from.
First, get a general overview of how to paint mandala rocks. Start with this design to get the feel of the markers, then create your own pattern. Or go freestyle and decide as you go!
Excerpt and photos are from my book Mandala Rock Painting Made Simple. This post may contain affiliate links, I could earn a small commission from purchases at no cost to you.

To Draw a Simple Rock Mandala, You will need:
START-TO-FINISH TIME:
30 minutes
SUPPLIES:
Smooth 2- to 3-inch round rock
TOOLS:
1-inch flat brush
PAINTS AND SEALANT:
Aqua acrylic paint
Extra-fine- and fine-tipped white acrylic paint markers
Spray-on varnish sealant
How to Draw the Rock Mandala
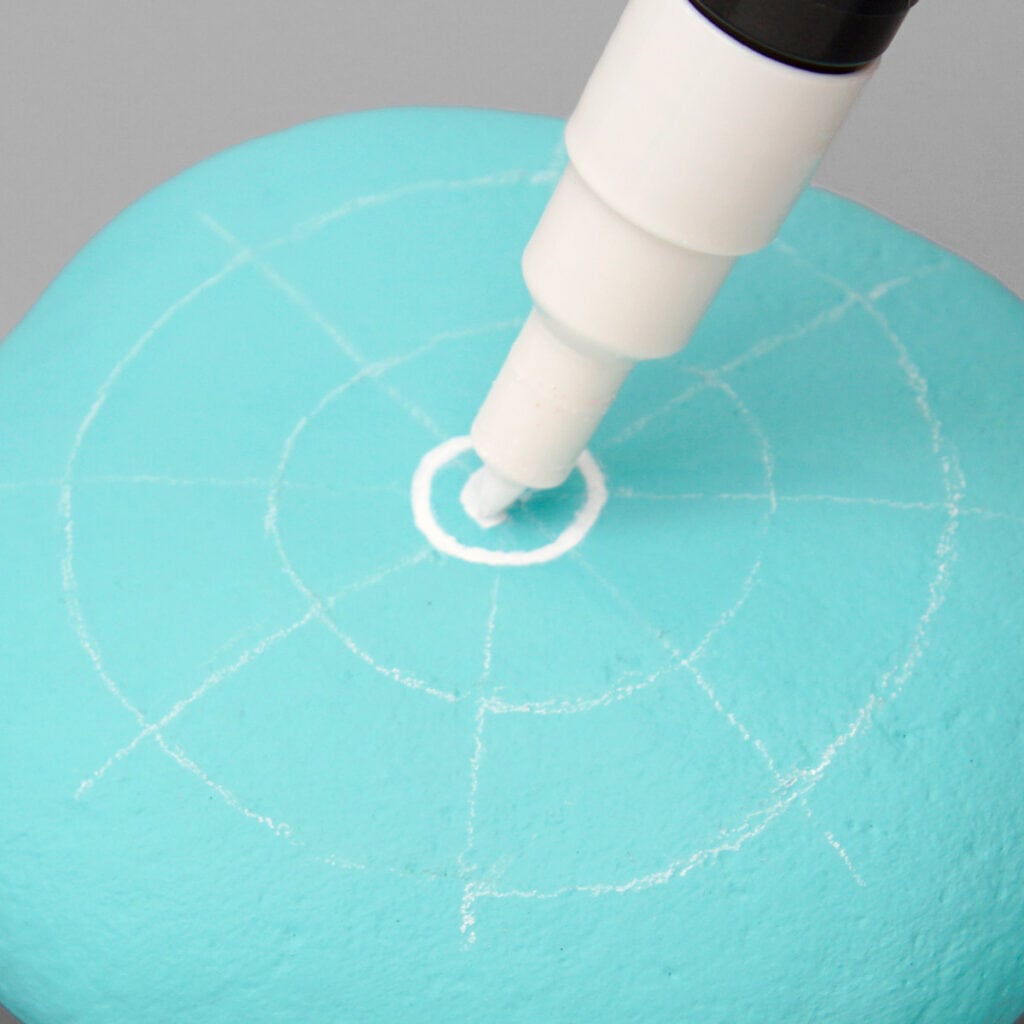
PREPARE THE ROCK AND BEGIN THE DESIGN. Apply the aqua base coat using the flat brush. Mark the grid (learn to make a mandala grid) with two concentric circles as shown.
With the extra-fine marker, draw a 1/2-inch- diameter circle in the center of the rock. Draw a swirl from the edge of the circle toward the center.

DRAW THE CENTER LEAVES. Draw 4 small leaves, each with its point on either a horizontal or vertical grid line.
Divide each leaf in half with a slightly curved line, then fill in the right side completely. Draw angled lines on the left side of each leaf.

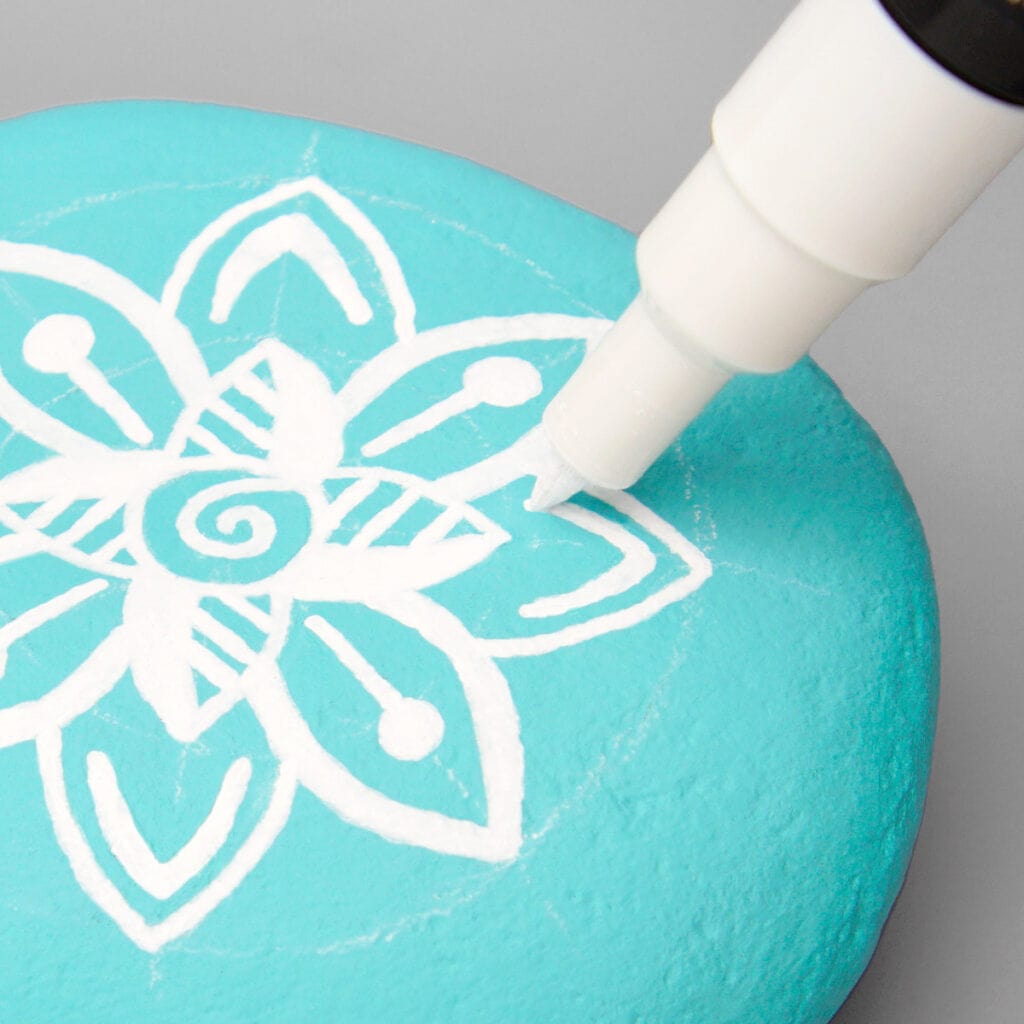
DRAW THE THICKER LARGE PETALS. Use the fine marker to draw a larger petal between each inner leaf, making the lines thicker.
Draw a dot in the center of each petal, then use the extra-fine marker to draw a line from each dot toward the center of the stone.

DRAW THE THINNER LARGE PETALS. Fill each gap between the large petals with another large petal, using the extra-fine marker to make thinner lines.
These petals should appear to be behind the first set. Draw accent lines inside the tip of each thinner leaf.

ADD THE DOT RINGS AND VARNISH. Use the fine marker to make 1 dot in the space between each petal. Use the extra-fine marker to make a ring of tiny dots around the outside of the design, making five dots from one petal tip to the next.
When the paint is dry, spray the rock with 2 to 3 light coats of sealer.

Share this Painted Rock Mandala with Friends
Your shares are how this site grows, and I am genuinely appreciative when you do. Pin to your favorite Christmas Pinterest board or share this idea to a craft group on Facebook.

