• Skip to primary navigation
  • Skip to main content
  • Skip to primary sidebar
  • Skip to footer
Carla Schauer Designs
  • Crafts & DIY
    • Rock Painting
      • Rock Painting Ideas
      • Rock Painting Supplies
      • Rock Painting Techniques
    • Craft Tutorials
    • Teens and Tweens
    • Holiday and Seasonal
      • Spring
      • Summer
      • Fall
      • Winter
      • Valentine’s Day
      • Patriotic
      • Halloween
      • Christmas
    • DIY Decor
    • Technique Guides
  • Printables
  • Creative Life
  • Supplies
  • About
    • Work With Me
      • Art for Licensing
      • Surface Design Gallery
      • Craft Industry Services
      • Published work
      • Testimonials
    • Contact
  • Shop
    • Etsy
    • Zazzle
    • About my Products

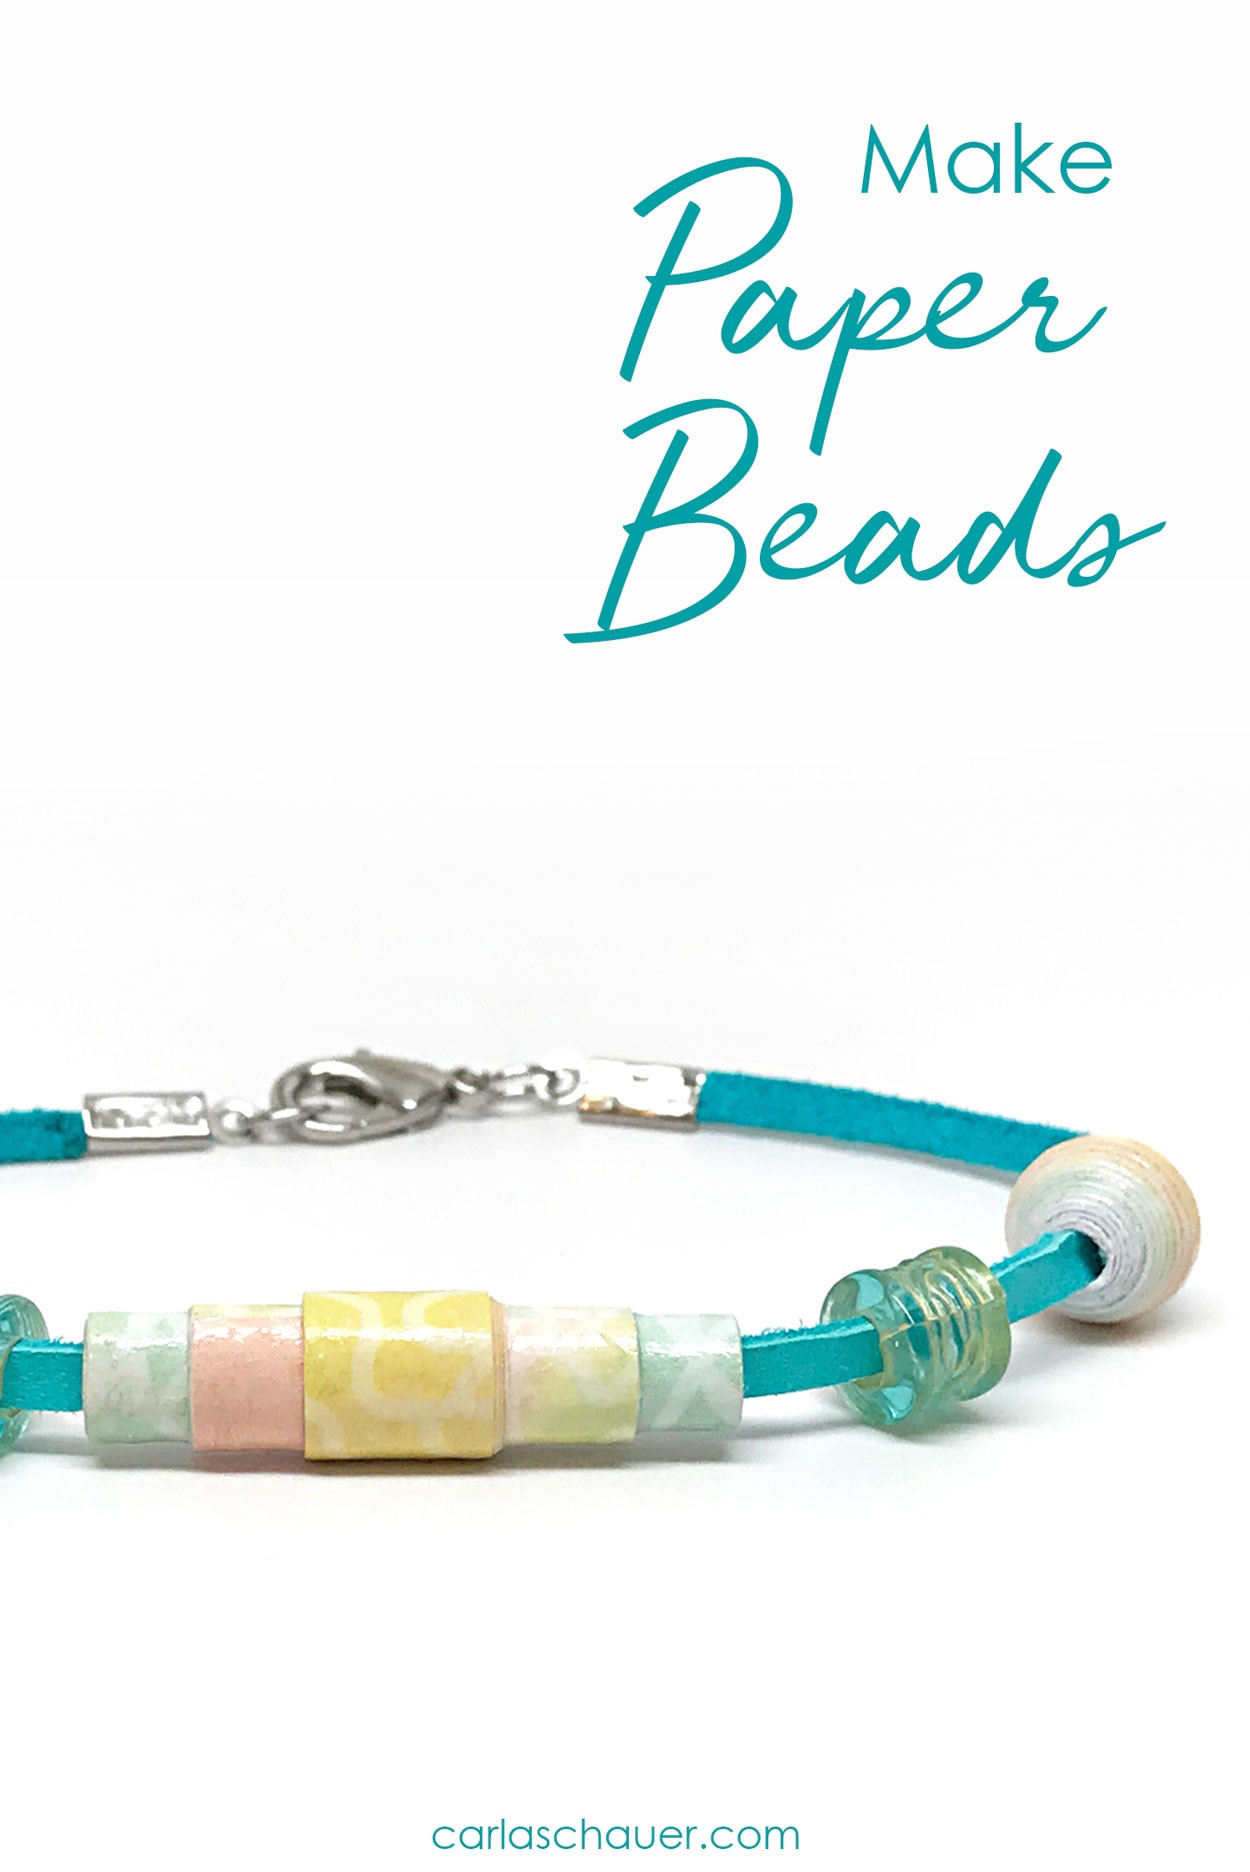
Easy Paper Bead Bracelet

by Carla Schauer Leave a Comment

  • Share
  • Tweet
Bracelets made with paper beads on white background with descriptive text
Paper bead earrings, necklace, and bracelet set on white mug.

Paper beads are ideal for making lightweight, allergy-friendly jewelry. This easy paper bead bracelet is made with adhesive-backed paper to eliminate the goopy mess of glue. They also make a great upcycling project for kids of all ages.  Learn to make beads from paper strips, and assemble into paper jewelry for any occasion.

Rolled Paper Bead Bracelet on a wood background with descriptive text.

How to make Paper Beads

To make traditional paper beads, you can use any type of paper. Try making:

  • newspaper beads,
  • beads made from magazines,
  • patterned scrapbook paper beads,
  • recycled paper beads,
  • kids’ beads from construction paper

You’ll need to measure and cut your bead shape, spread glue along one side, and roll to create a bead. To make the beads for my paper bead bracelet, I’m using a slightly different set of supplies to simplify the process.

Rainbow rolled paper bead on turquoise backround.

The best thing about making paper beads with a cutting machine like the Cricut is that you don’t have to measure and cut your paper into shapes. With a paper bead svg file, you can choose your bead shape and cut right away. For this project, I’m also using adhesive-backed paper so there’s no need for the messy glue step. Just one dot at the end of the bead for extra security and you’re set!

This page may contain affiliate links. If you make a purchase through my link, I will earn a small commission at no extra cost to you.

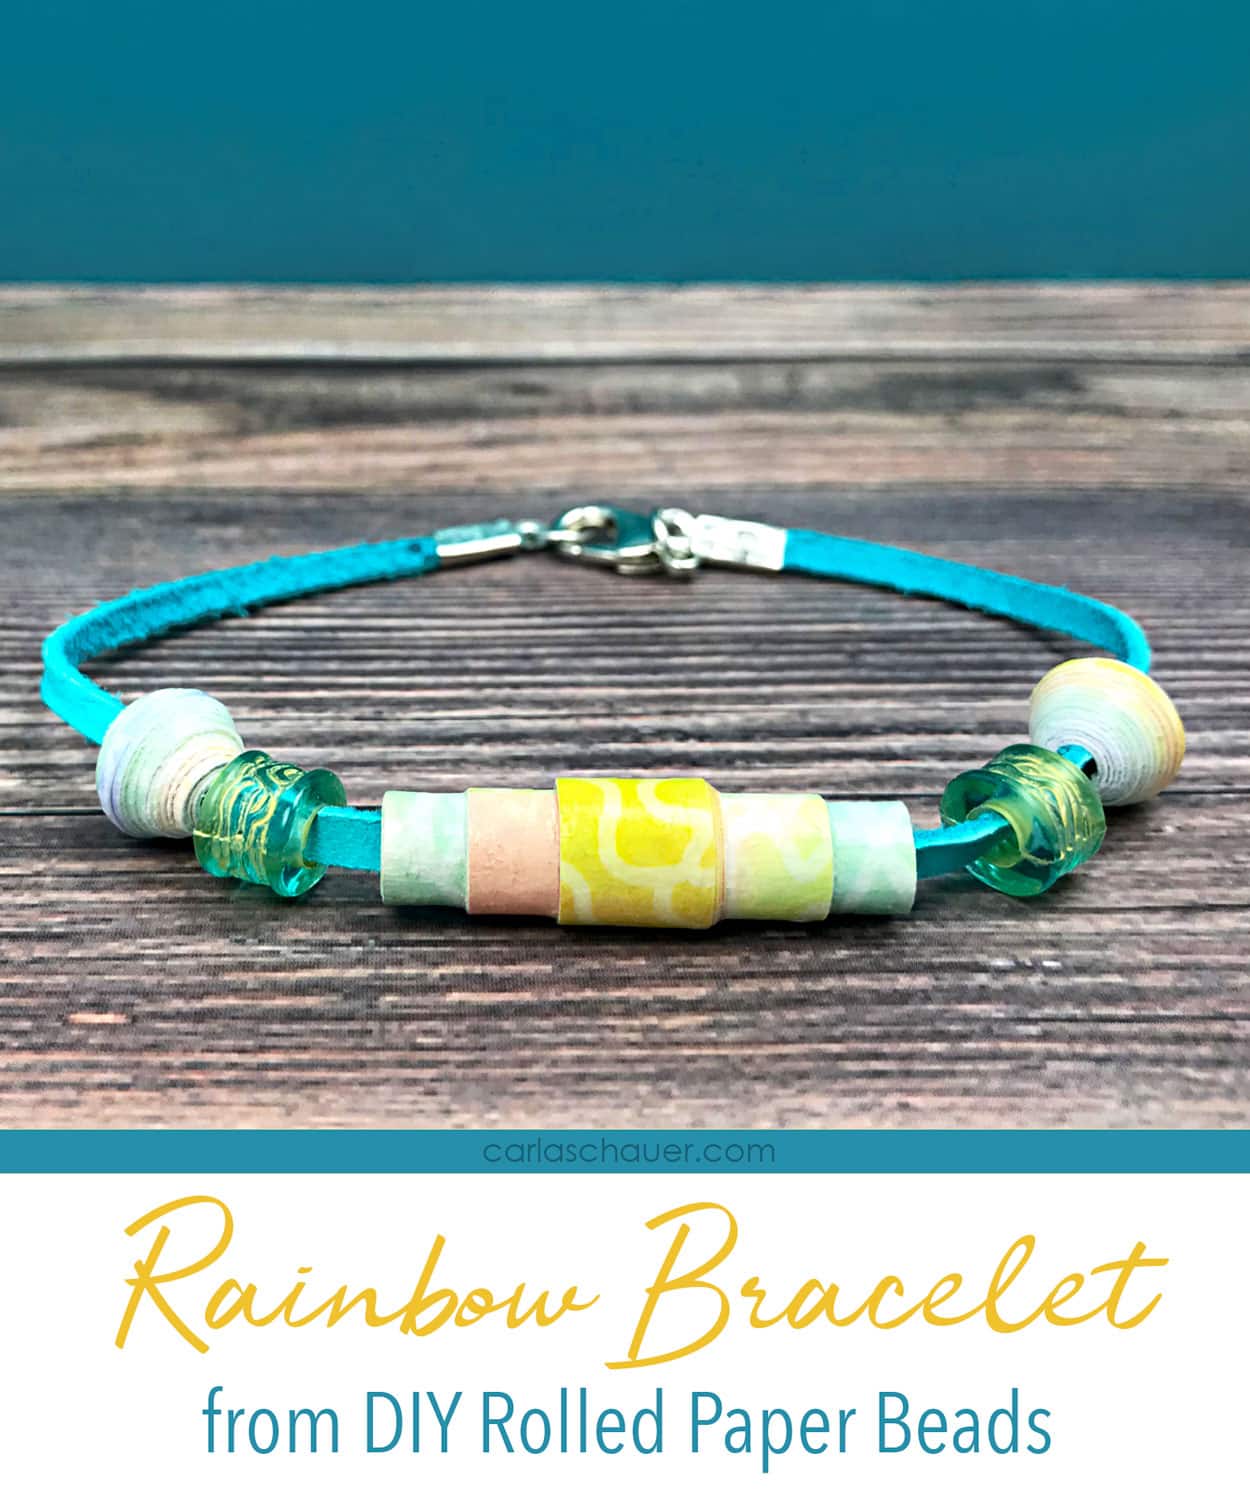
Make a Paper Bead Bracelet

Supplies for Paper Beads:

  • 1 sheet rainbow floral adhesive-backed paper from JGoode Designs (from Cricut Joy Always Spring Paper Pack)
  • paper bead kit #M12227AE cutting file from Cricut Design Space
  • light grip cutting mat
  • glossy decoupage medium
  • small piece of tissue paper or powder
  • toothpick
  • Optional-paper glue

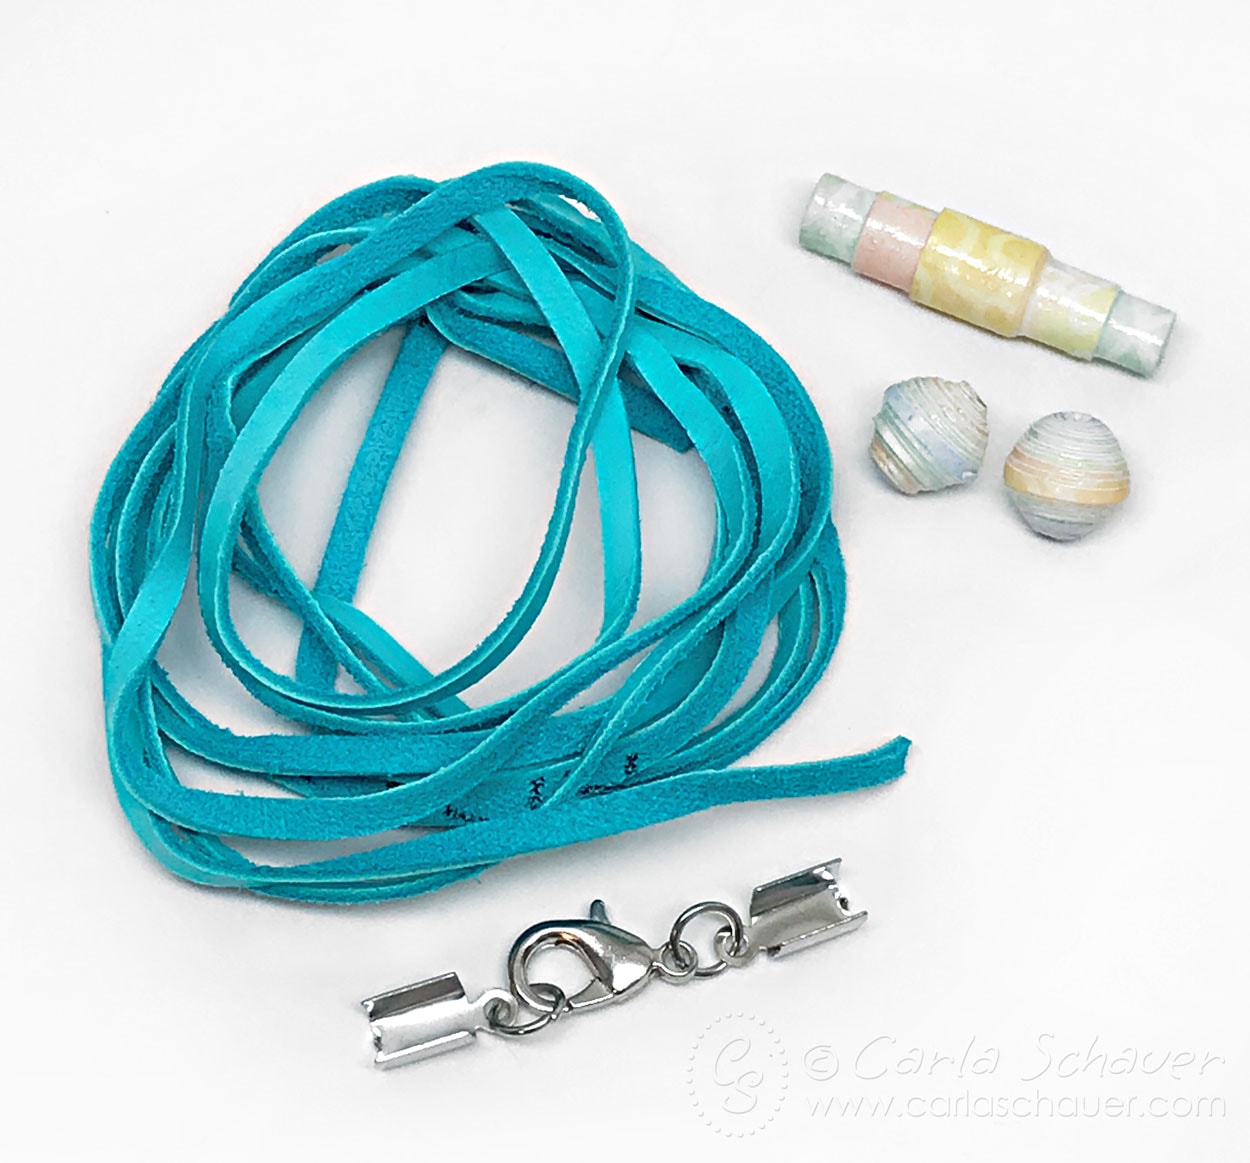
Supplies for Bracelet:

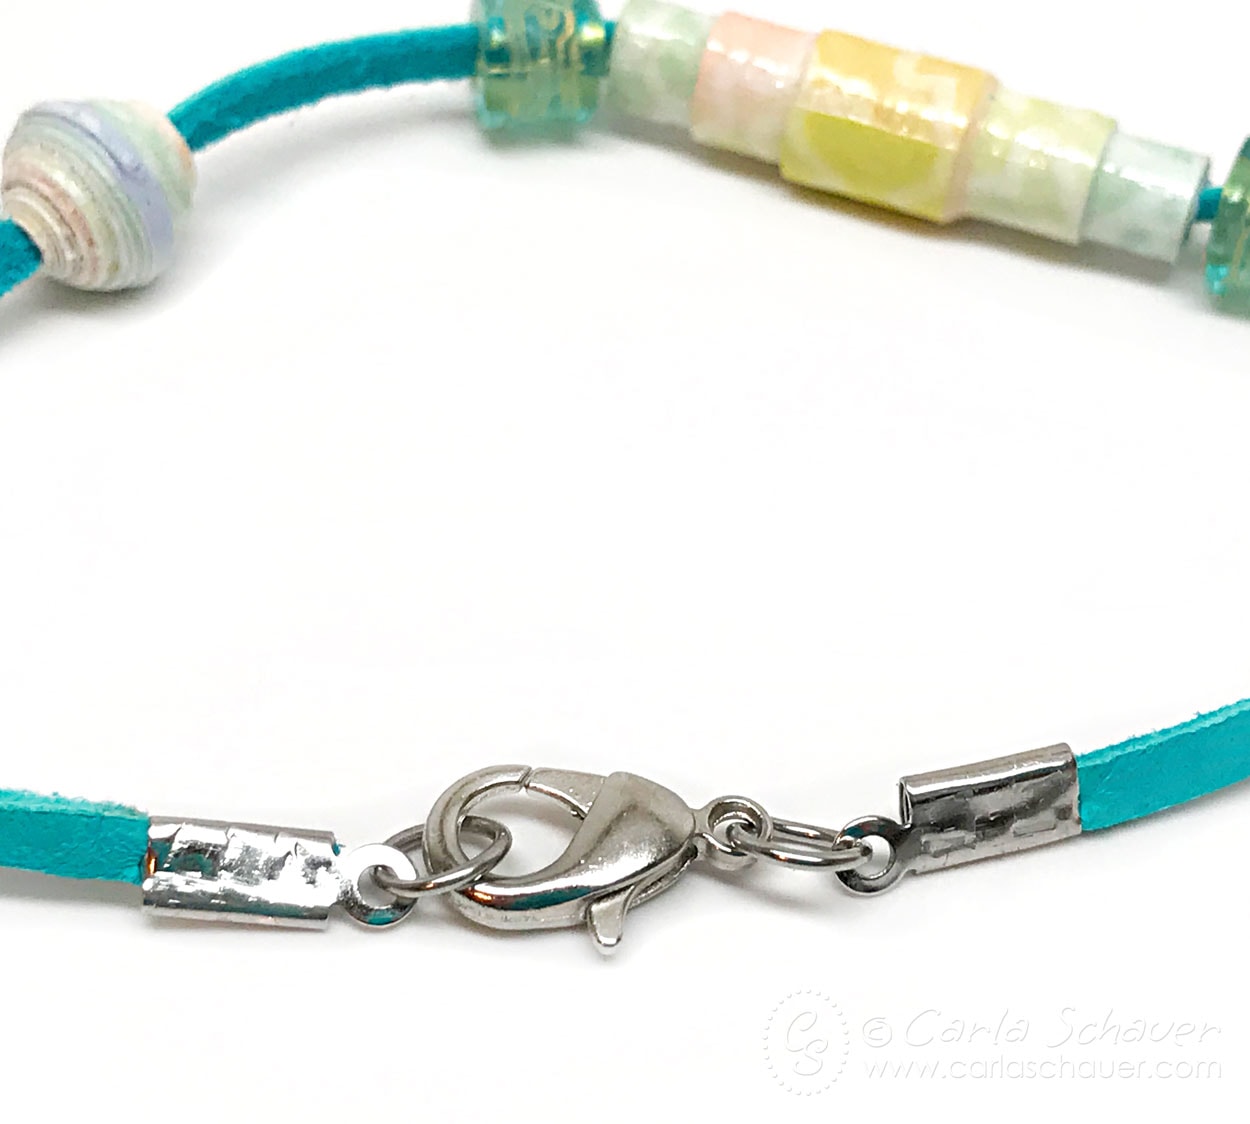
  • 1/4″ turquoise leather (or vegan leather) cording , approx. 7-9″ length
  • 2 green tube large-hole beads
  • 6mm crimp-style cord end findings with lobster clasp
  • jewelry crimpers

Paper bead bracelet supplies on white background

Instructions:

  1. Open paper bead template file in Design Space, then ungroup and turn off all layers except the 1st and 7th bead.
  2. Adjust size of both beads to 11.5″ long. Adjust 1st bead to 1/2″ wide. Duplicate layer, rotate 180*, and arrange close to original layers as shown. Flatten Canvas.
  3. Cut out all 3 paper beads using Cricut machine. Remove paper from mat, but leave the beads attached to the backing.Cricut machine cutting paper beads.
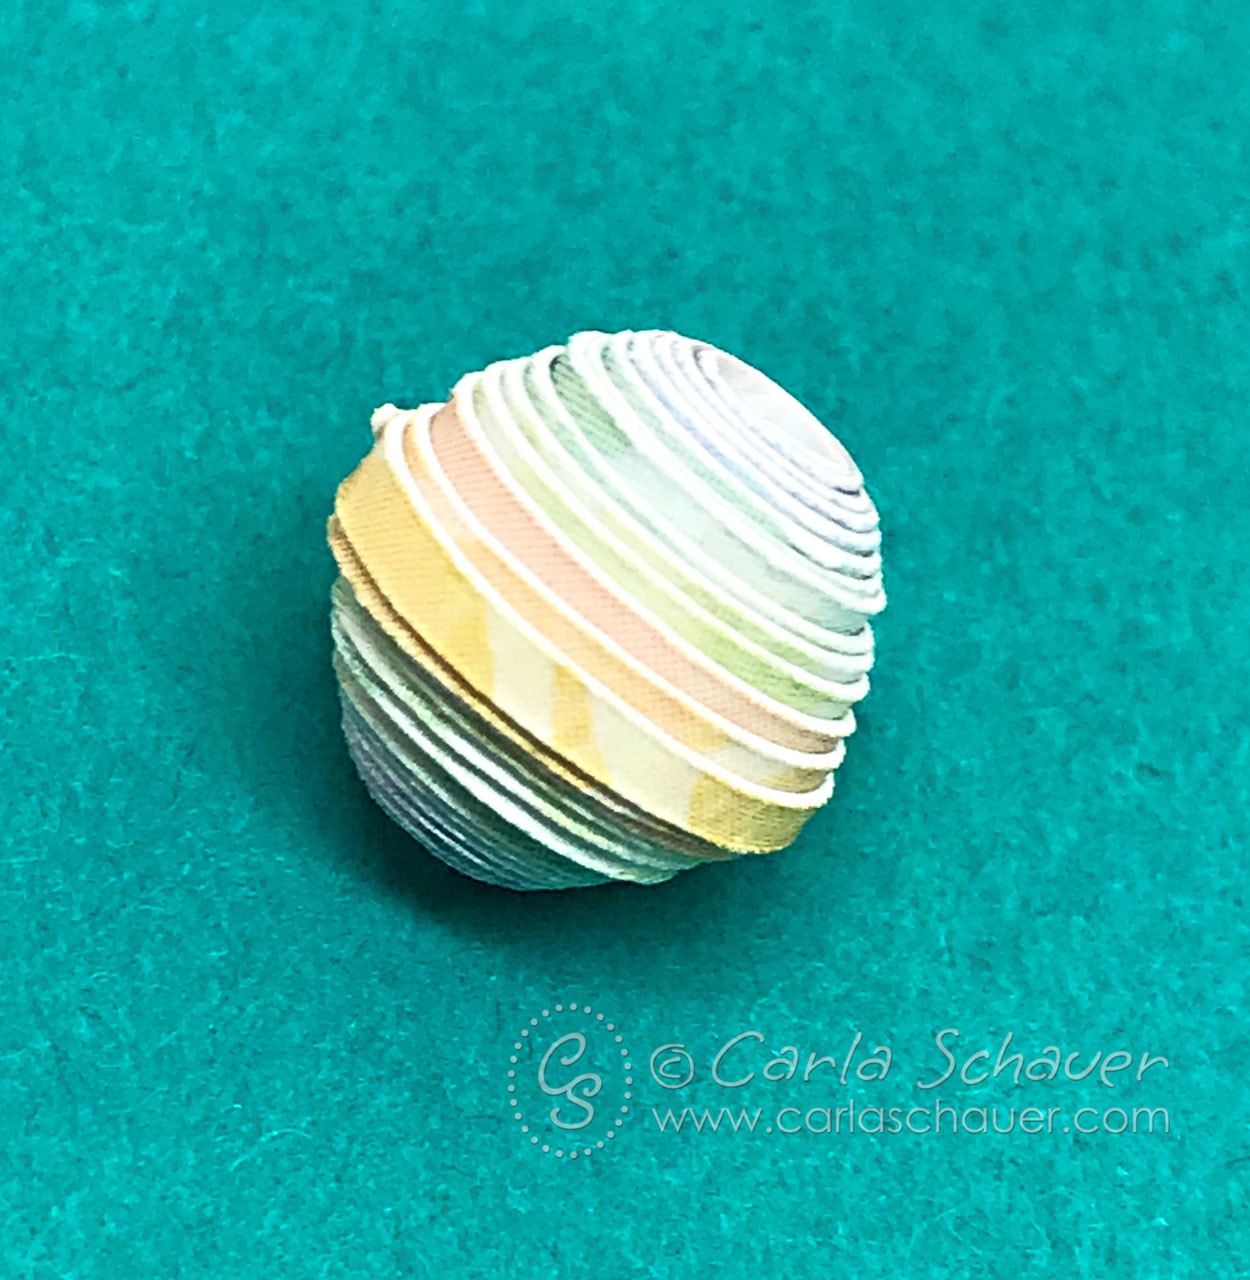
  4. Peel back around 1/2″ of paper from backing. Apply tissue paper or powder to peeled section. This will keep the inside hole from being sticky and allow threading on wire. Wrap end of paper strip around the toothpick and continue rolling bead snugly from large end to small end, securing with dot of decoupage medium or paper glue. Repeat for other beads.Paper being rolled around toothpick to make bead
  5. Brush rolled paper beads with glossy decoupage medium, adding a second coat if desired, and allow to dry completely. Glossy sealer will make paper beads look glass-like and shiny.Adding gloss to rolled paper bead.
  6. Measure wrist and add 1″ to length, then cut leather cord to this length.
  7. Crimp cord end finding to one end of cord, flattening one side over the other. String beads onto cording.
    Clamping end of turquoise leather jewelry cord
  8. Double check bracelet length and trim any excess if needed. Crimp other end finding to open end of cord.
    DIY turquoise leather cord bracelet with rolled paper beads

More DIY Beaded Jewelry to Make:

Use this paper bead making process to make matching paper bead earrings, or try other techniques to make a memory wire bracelet set, or a shell bracelet and earrings.

Pin this Paper Bead Bracelet to make later:

Rainbow rolled paper bead bracelet on white background
Paper bead bracelet and earrings.


Enter your email and grab my free easy craft idea list, designed to help you jump start your creativity, and never have to stare at unused supplies again. (Or worse, hear someone else complain about them!)
No spam ever. Unsubscribe anytime. See our privacy policy for more details.

Similiar ideas you'll want to try:

  • 5 Best Places to Find Perfect Stones for Painting
    5 Best Places to Find Perfect Stones for Painting
  • This Cute February Reading Log Makes an Easy Valentine Craft
    This Cute February Reading Log Makes an Easy Valentine Craft
  • Fall Tied Ribbon Wreath with Rustic Accents
    Fall Tied Ribbon Wreath with Rustic Accents
  • Quick Teacher Appreciation Candy Jar Gift
    Quick Teacher Appreciation Candy Jar Gift
  • Firecracker Patriotic Bookmark Printable for Coloring
    Firecracker Patriotic Bookmark Printable for Coloring
  • Share
  • Tweet

Filed Under: crafts, Creativity, Teens Tagged With: affiliate, crafts, paper crafts, teens, tutorial, tweens

Previous Post: « Funny Cactus Coloring Bookmark
Next Post: 30 Creative Family Activities for When You’re Stuck Indoors »

Reader Interactions

Leave a Reply Cancel reply

Your email address will not be published. Required fields are marked *

This site uses Akismet to reduce spam. Learn how your comment data is processed.

Primary Sidebar

Carla Schauer photo Welcome! I'm Carla, a licensed artist, maker, and creator of quirky art and craft projects. Here, I share DIY crafts and creativity of all kinds, occasional studio updates, and a wee bit of everyday life. New? Start here.
carla schauer on facebook carla schauer on pinterest carla schauer on instagram carla schauer on twittercarla schauer blog rss feed

Shop CSD on Etsy

Get the Creative Jumpstart!

Easy Craft Idea pdf displayed on clipboard, surrounded by gold office supplies

CSDS Favorite Posts

Printable Heart Bookmarks to Color
Travel Scavenger Hunt for Tweens
DIY Softball Hair Bows
Ultimate Guide to Rock Painting
DIY Paracord Water Bottle Holders

Footer

Google
  • About Carla
  • Studio News
  • Work With Me
  • TOU & Privacy
  • All Posts
carla schauer on facebook carla schauer on pinterest carla schauer on instagram carla schauer on twittercarla schauer blog rss feed

art and content © 2009-2022 Carla Schauer · all rights reserved.

If you'd like to share something from my site, please share ONE image and then link back to my post where people can read the full tutorial/content. Please DO NOT alter or copy photos nor copy my work in its entirety to share on your site without my permission. Some posts may contain affiliate links. Carla Schauer Designs is a participant in the Amazon Services LLC Associates Program, an affiliate advertising program designed to provide a means for sites to earn advertising fees by advertising and linking to Amazon.com. See full disclosure.

Copyright © 2022 Carla Schauer Designs on the Foodie Pro Theme

Creative Jumpstart
Enter your email below and get 100 Easy Craft Ideas, designed to help you use up your giant craft stash, and never have to stare at unused supplies again. (Or worse, hear someone else complain about them!)
Spam sucks, we won't send you any. Selling your info is gross. We don't do that either. Unsubscribe anytime, see our privacy policy for more details.
Need a Creative Jumpstart?
Enter your email below and get 100 Easy Craft Ideas, designed to help you use up your giant craft stash, and never have to stare at unused supplies again.
Spam sucks, we don't send it. Unsubscribe anytime, see privacy policy for more details.
Enter your email and grab my free easy craft idea list, designed to help you jump start your creativity, and never have to stare at unused supplies again. (Or worse, hear someone else complain about them!)
No spam ever. Unsubscribe anytime. See our privacy policy for more details.